
Measure, mark, drill, and fasten cabinet handles precisely for a clean, professional finish. Find quick tips on How To Install Kitchen Cabinet Handles with easy measuring steps so every piece fits well and looks clean and even. I have installed dozens of kitchen cabinet handles in homes and rental units. In this guide I explain how to install kitchen cabinet handles step by step, with clear tools lists, measurement tips, and real-world troubleshooting.
You will learn how to pick the right hardware, use templates for perfect alignment, drill safe holes, and secure handles so they last. Read on for practical instructions, common mistakes to avoid, and pro tips I’ve learned on the job.

Tools and materials you will need for how to install kitchen cabinet handles
Preparing the right tools saves time and avoids damage. Gather these basic items before you learn how to install kitchen cabinet handles.
- Drill with a 3/16-inch or 1/8-inch bit depending on screw size
- Tape measure and ruler for accurate spacing
- Pencil or marker for marks that wipe off
- Cabinet handle jig or paper template for consistent hole placement
- Clamps to hold a template or protect doors while drilling
- Masking tape to reduce splintering on wood veneer
- Screwdriver or driver bit to tighten screws
- Wood filler and touch-up marker for small mistakes
- Safety glasses and gloves for protection
I always keep extra screws and a handful of different drill bits on hand. Small differences in screw length or door thickness can force a last-minute change. Learning how to install kitchen cabinet handles starts with preparation.
Good planning prevents crooked handles and wasted holes. Measure twice and mark once.
- Decide placement style: center of drawer, edge of door, or vertical pull on tall cabinets.
- Standard drawer center-to-center often ranges from 3 to 5 inches for small drawers, 3 to 6 inches for larger ones. Mark the center point first.
- Use a jig or create a paper template to copy one hole pattern across all doors and drawers.
- Account for door thickness and backset so screws reach secure material, not a hollow panel.
When I started, I used no template and ended up with off-center pulls. After switching to a simple cardboard template, my installs became fast and consistent. Planning is the most important step in how to install kitchen cabinet handles.

Step-by-step: how to install kitchen cabinet handles correctly
Follow these steps for clean, repeatable results. These steps assume typical knob or pull handles with two screws.
- Measure and mark
- Find the exact center or desired offset on the drawer front or door.
- Use a square to align marks horizontally and vertically.
- Protect the surface
- Apply masking tape over the drilling area to limit chipping.
- Clamp a scrap board inside the cabinet to back the hole and prevent blowout.
- Drill pilot holes
- Use a drill bit equal to the screw core diameter, not larger than the screw threads.
- Drill slowly and keep the drill perpendicular to the surface.
- Test-fit screws
- Insert screws from inside or outside based on handle style to confirm length.
- Replace with longer screws if the screw doesn’t engage firmly in the handle.
- Install handle and tighten
– Hold handle flush and tighten screws evenly by hand first.
- Finish with a screwdriver to snug; avoid over-tightening which strips wood.
- Final checks
- Confirm alignment across multiple doors and drawers.
- Use filler and touch-up for any small blemishes.
When learning how to install kitchen cabinet handles, work on one door first as a test. Adjust your template or measurement if the first result is off. Small tweaks early prevent repeating mistakes.
Installing different handle types and special cases
Handles vary. Know how to install each type before you begin.
- Standard two-screw pulls
- Drill two holes using your template. Insert screws from inside and attach handle on the exterior.
- Single knobs
- Mark the center point, drill a single hole, and install with a single screw.
- Back-to-back handles on glass or thin door panels
- Use a bolt and nut system or through-bolt kit. Add rubber washers to protect glass.
- Edge pulls and recessed pulls
- These often require routing or mortising. Measure depth and use a router or hand chisel carefully.
- Tall cabinet or pantry pulls
- Use longer screws and reinforce with wood or bolts where the panel is thin.
I once installed recessed pulls without measuring depth and hit internal hardware. For how to install kitchen cabinet handles involving specialized pulls, check the product instructions and measure internal clearance.

Alignment, spacing, and aesthetic rules when you install kitchen cabinet handles
Small spacing decisions affect the look of a whole kitchen. Follow simple rules for a clean appearance.
- Consistent height and center-to-center spacing matters more than exact inches. Use the same measurement across similar cabinets.
- Align knobs on doors and handles on drawers by creating a master template.
- For modern looks, align handles in a straight horizontal or vertical line across cabinets.
- Consider scale: small knobs suit small drawers; large pulls better on wide drawers and tall doors.
When installing, step back frequently and view cabinets at eye level. Visual checks catch misalignments that a ruler misses.
Common mistakes and troubleshooting for how to install kitchen cabinet handles
Knowing common errors helps you avoid them.
- Misaligned holes
- Use a jig or template. Fix with wood filler, sand, and repaint if needed.
- Screws too short or too long
- Measure door thickness and use appropriate screw length; keep extras available.
- Splintering or ripped veneer
- Use masking tape and drill slowly. A backing board reduces blowout.
- Stripped screw heads
- Use the correct screwdriver bit and avoid over-torquing.
- Wobbly handles after tightening
- Check for cross-threaded screws or weak material; use longer screws or install wood anchors.
I have corrected dozens of misaligned pulls. The fastest fix is to fill the wrong hole and drill a new one using a solid template. It costs time but saves the cabinet appearance.
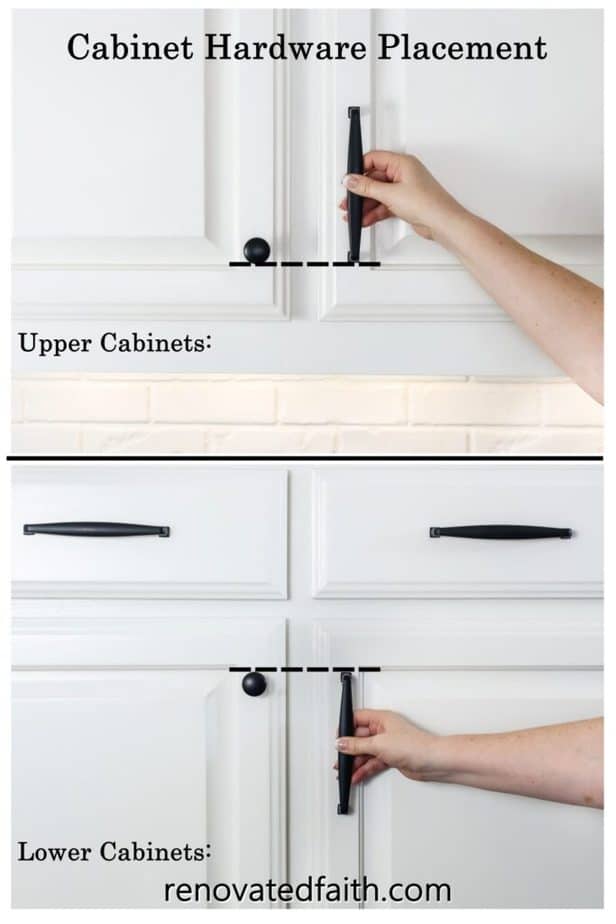
Source: renovatedfaith.com
Maintenance and long-term care after you install kitchen cabinet handles
Handles can last years with simple care. Follow these tips.
- Tighten screws periodically; homes shift and screws can loosen over time.
- Clean using a soft cloth and mild cleaner; avoid harsh chemicals that damage finishes.
- Replace stripped screws with slightly larger diameter screws or wood inserts.
- For painted doors, touch up paint around holes to prevent moisture damage.
A routine check every six months keeps hardware secure and prevents surprise repairs. Proper maintenance extends the life of your installed handles.
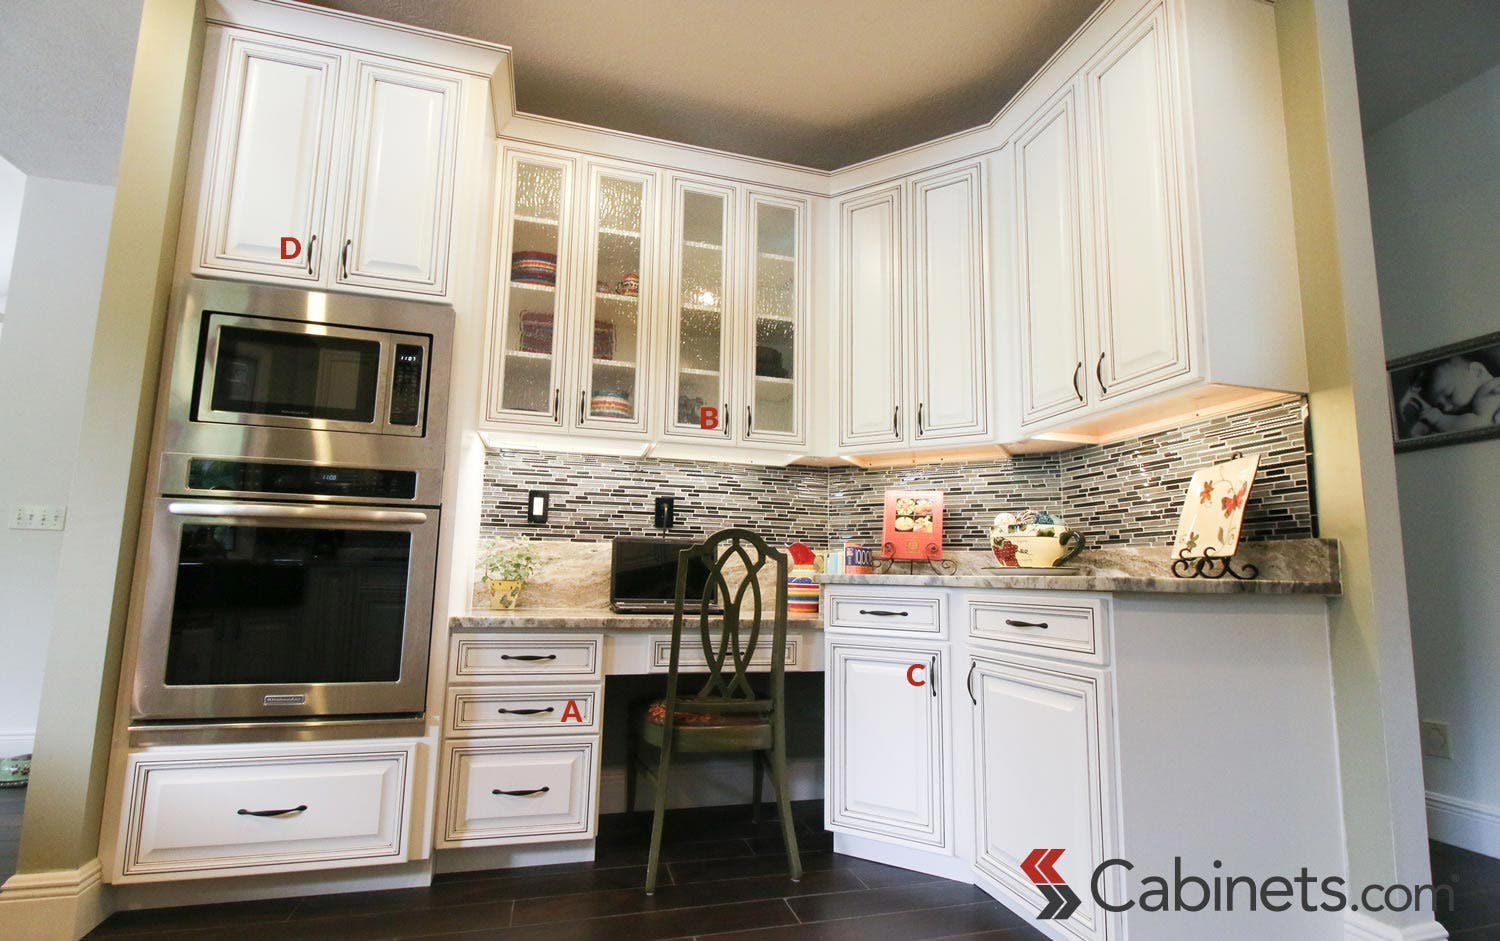
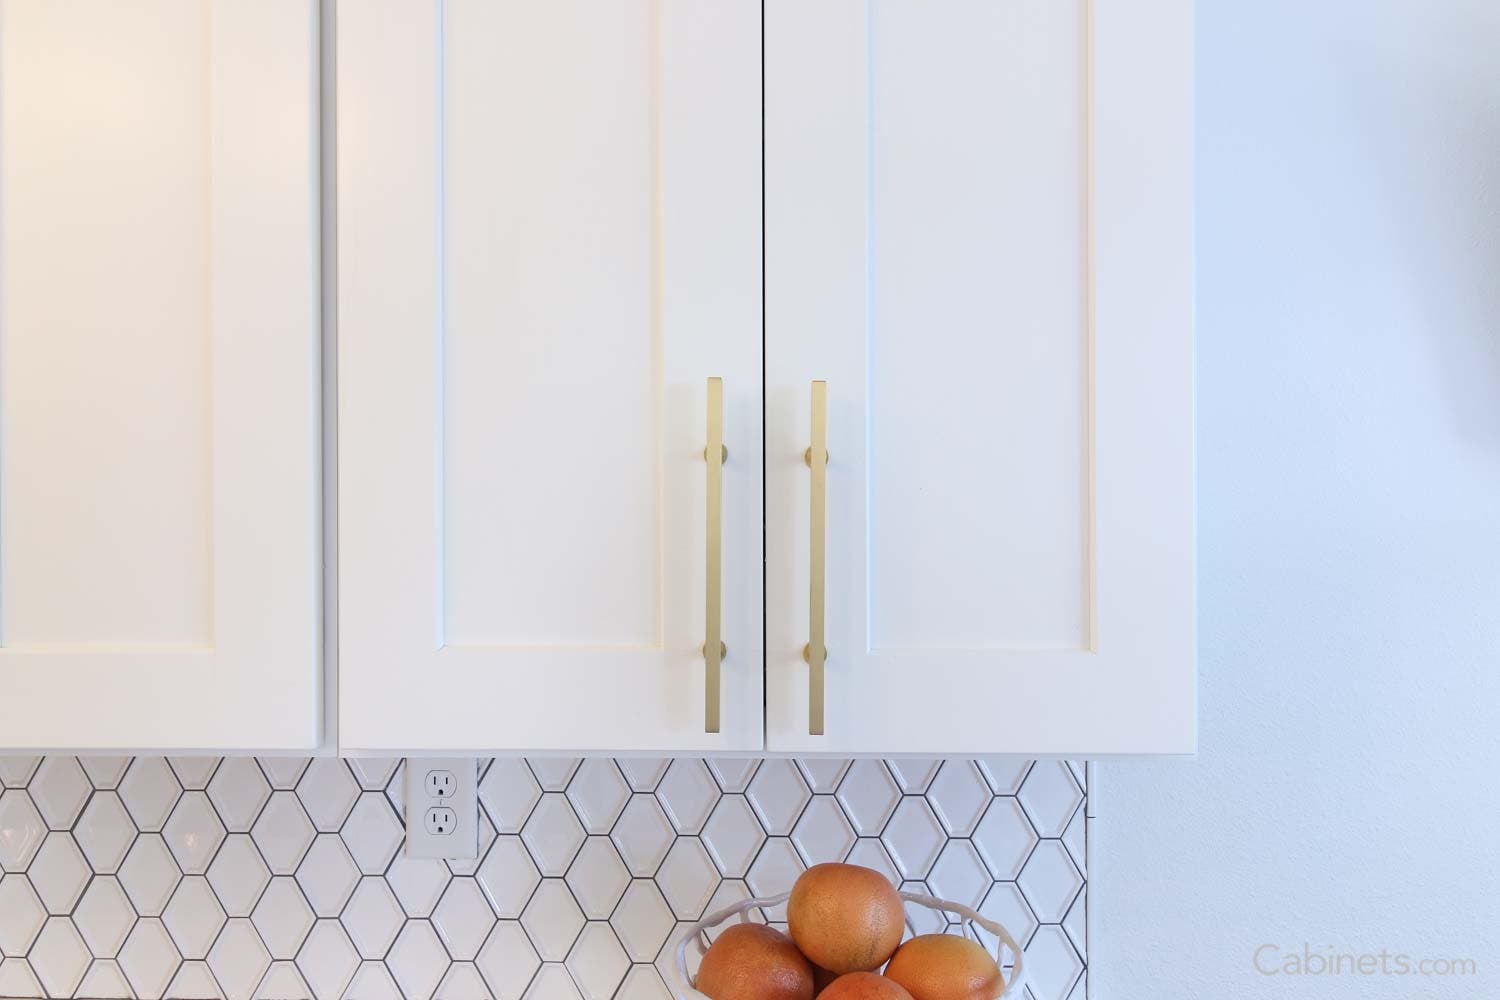
Source: cabinets.com
Personal tips, lessons learned, and pro shortcuts for how to install kitchen cabinet handles
Practical habits save time and yield better results.
- Create a cardboard template for each handle type and mark it clearly. This saves measurement time on repeated doors.
- Label screws and handles per cabinet when you remove old hardware. Small plastic bags and tape work well.
- Use clamps and a sacrificial board inside the cabinet when drilling to avoid blowout.
- Take photos before removal so you can replicate the original layout if desired.
- When in doubt, pick slightly longer screws; you can usually shorten by swapping, but short screws cannot be magically lengthened.
I once faced doors with varying thicknesses across the same kitchen. Labeling handles and screws prevented confusion and made reassembly fast. These small routines are key when you learn how to install kitchen cabinet handles efficiently.
Frequently Asked Questions of how to install kitchen cabinet handles
How high should I install cabinet handles on drawers?
Standard drawer handle placement is centered vertically. Horizontally, many people use 1 1/2 to 2 inches from the edge or follow center-to-center spacing for a balanced look.
Can I install cabinet handles without a drill?
You can install knobs with self-tapping screws on thin material, but a drill is recommended for clean holes and for most pulls to ensure accurate placement and strength.
What drill bit size do I need for cabinet handles?
Usually use a bit that matches the screw core, often 3/16 inch or 1/8 inch for typical hardware. Check the handle screws to confirm the best pilot bit size.
How do I fix a misaligned handle hole?
Fill the wrong hole with wood filler or a dowel, sand smooth, and repaint if needed. Then re-measure and drill the correct hole using a template.
Should handles on all drawers match in height and alignment?
Yes. Consistent height and alignment create a unified look. Use a master template to keep placement the same across similar drawers and doors.
How long should screws be for cabinet handles?
Screw length should pass through the door and engage fully in the handle body, usually 1/2 to 1 inch for standard doors. Thicker doors or hidden panels may need longer screws or through-bolts.
Can I use the same handle on drawers and doors?
You can, but consider scale and ergonomics; a small knob may look lost on a large drawer, while a large pull could overwhelm a small door.
Conclusion
Installing cabinet hardware is a precise but rewarding task. By planning placement, using a reliable template, drilling carefully, and following the step-by-step process above, you can complete how to install kitchen cabinet handles with professional results. Start with one trial door, keep tools and extra screws close, and tighten fittings as needed over time. Try these steps on a single cabinet today, and if you enjoyed this guide, subscribe for more home-improvement tutorials or leave a comment with your questions.